
Photo guide
How to take dental photos at home
Five photos with a phone camera are enough. Here's how to take each one, and what it should look like.
Before you start
- Ask someone to help. One of you holds the cheeks back while the other takes the photo.
- Brush first, stand in good light and turn on the phone's flash.
- Hold the lips and cheeks back with two clean spoons, or with your fingers. Keep the lips relaxed.
- Bite on your back teeth for the smile, front and side photos.
- Move the phone closer rather than zooming in, and fill the picture with teeth and gums.
- 1
Smile
Face the camera and give a natural, wide smile, without spoons or fingers.
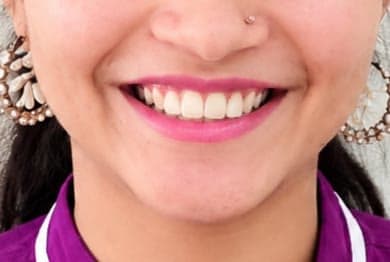
What it should look like - 2
Front view
Pull both cheeks outward with the spoons and bite on your back teeth. Hold the phone straight in front of the teeth.
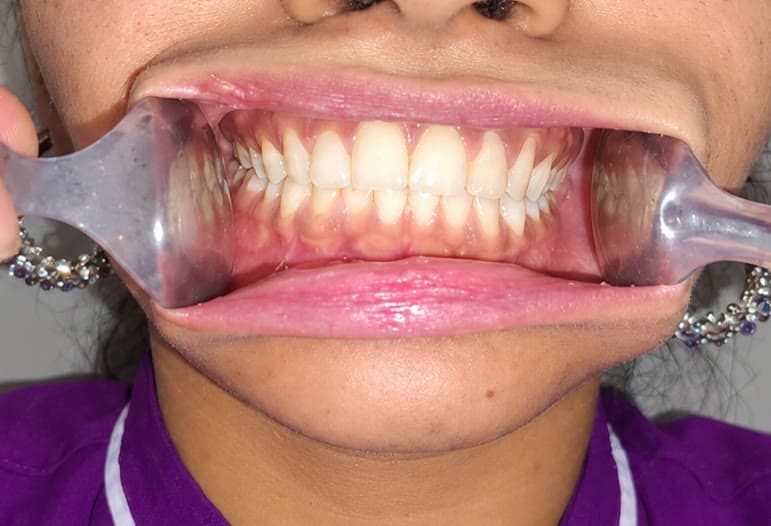
How to take it 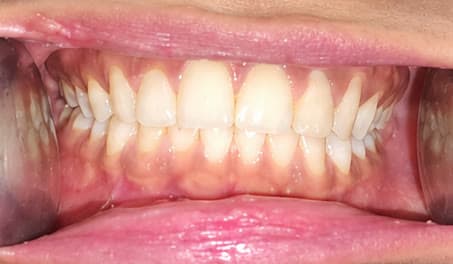
What it should look like - 3
Side views
Pull one cheek back firmly while the other side is held lightly. Move the phone to that side so the back teeth show. Then do the other side.
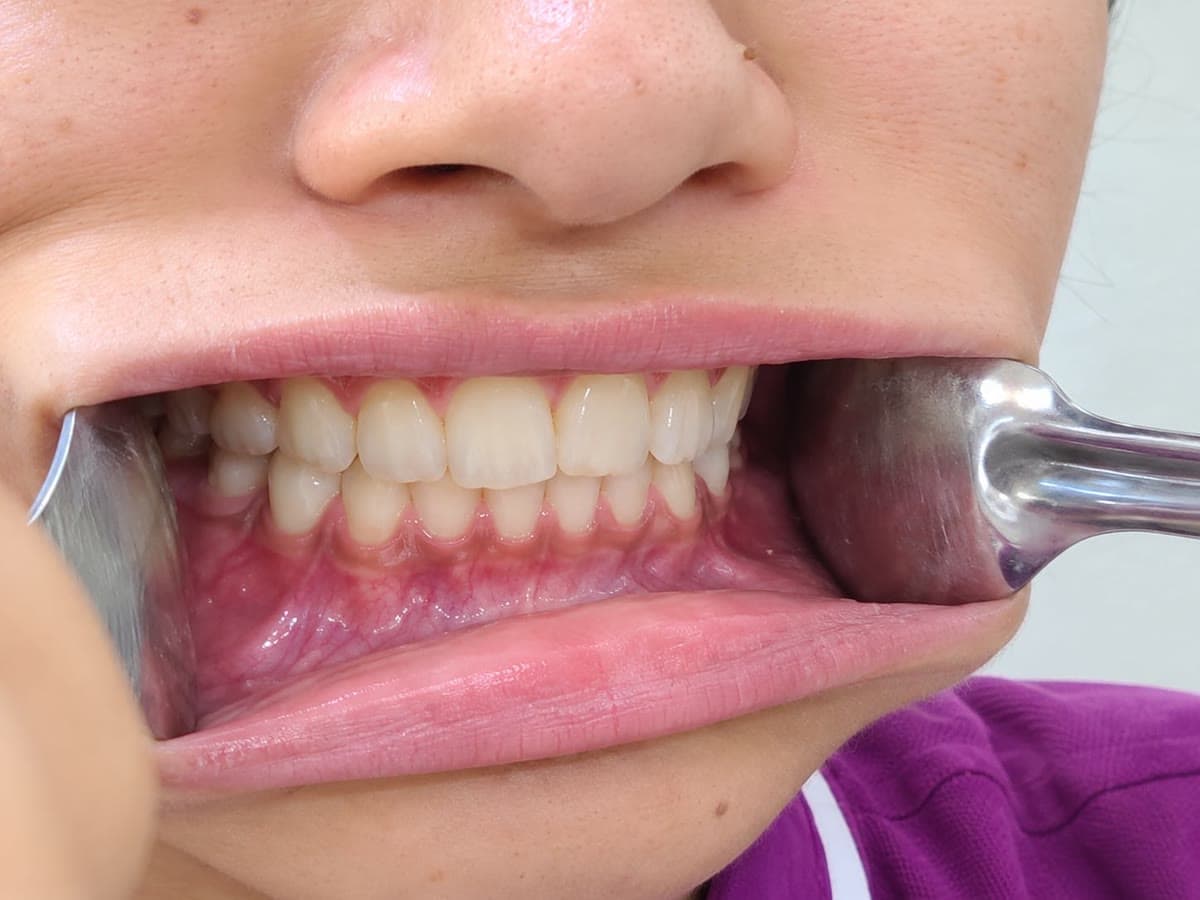
How to take it 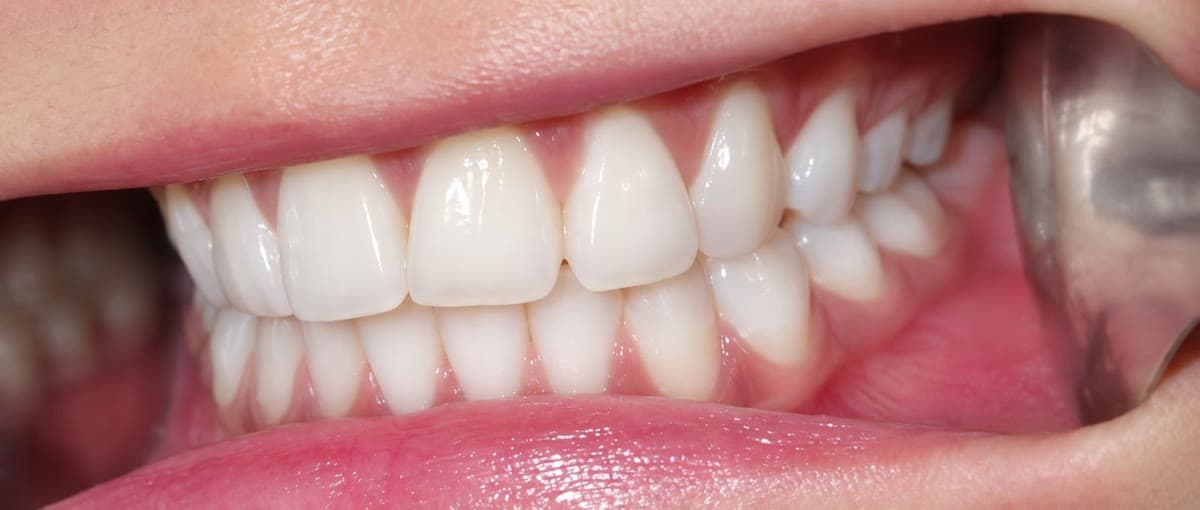
One side 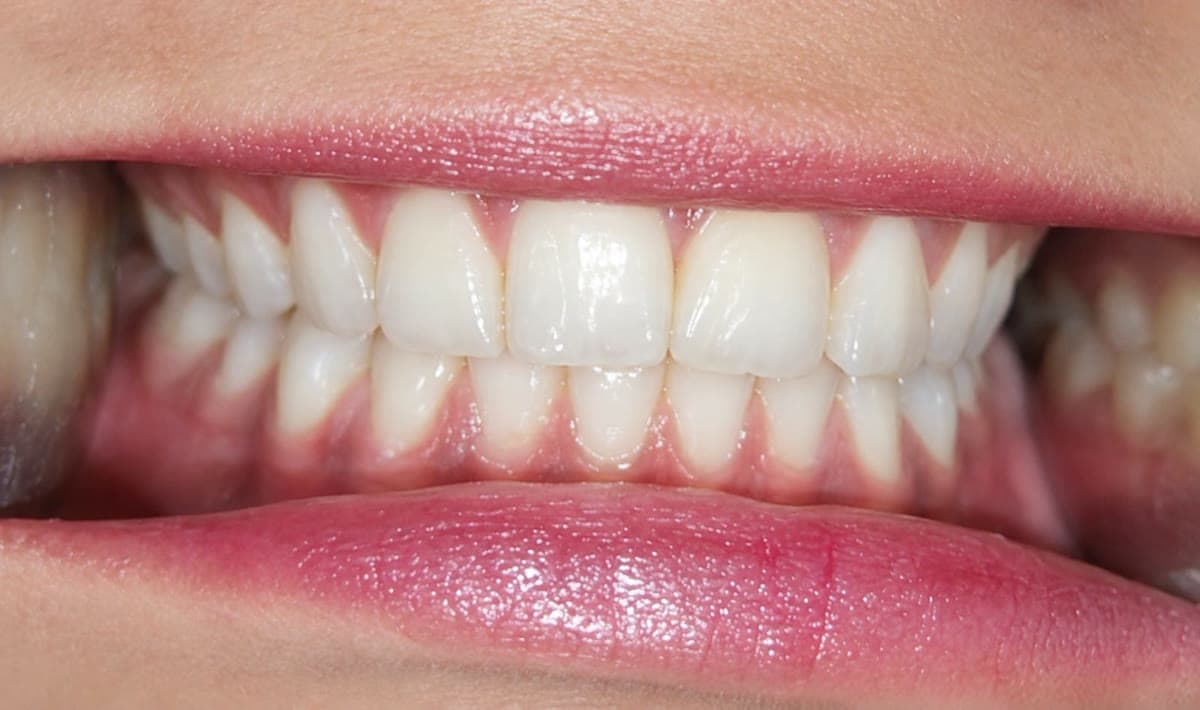
The other side - 4
Upper teeth
Open wide and tilt your head back. Pull the upper lip and cheeks up, and photograph the biting surfaces of all the upper teeth from below.
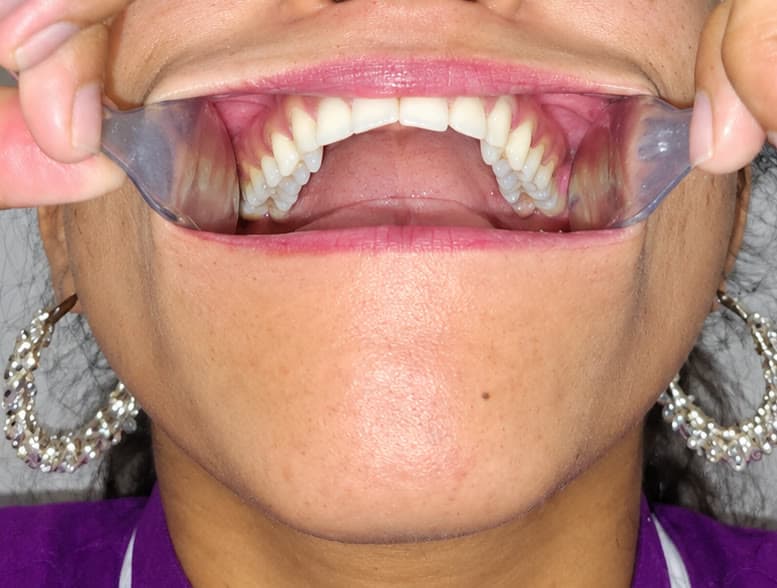
How to take it 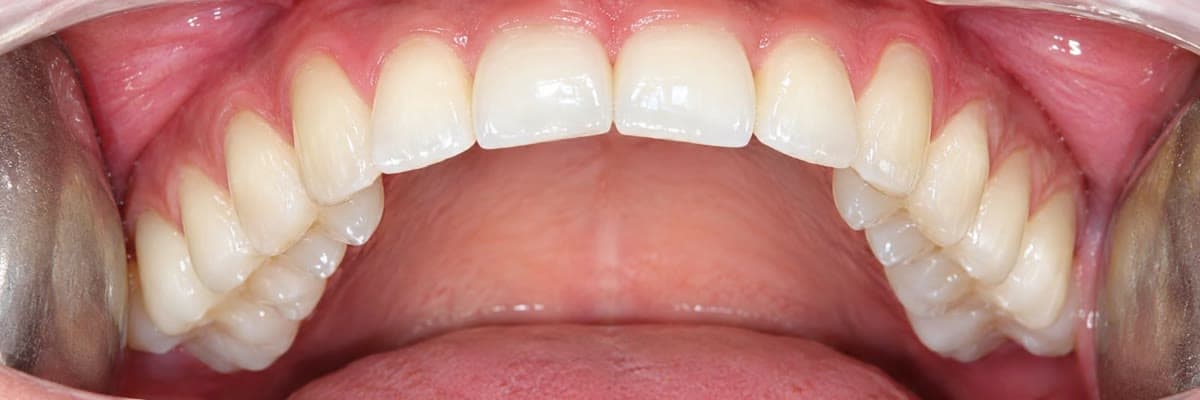
What it should look like - 5
Lower teeth
Open wide and tilt your head down. Pull the lower lip and cheeks down, keep your tongue back, and photograph the lower teeth from above.
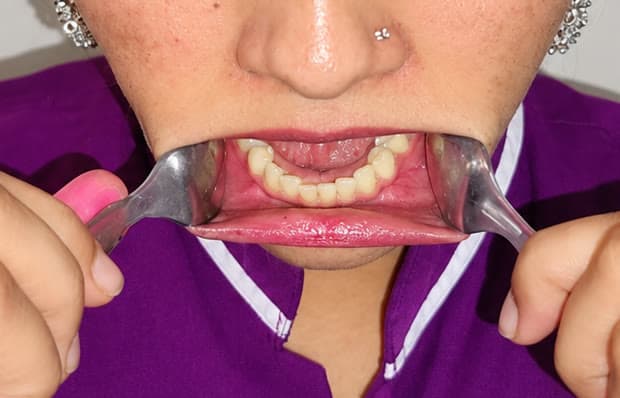
How to take it 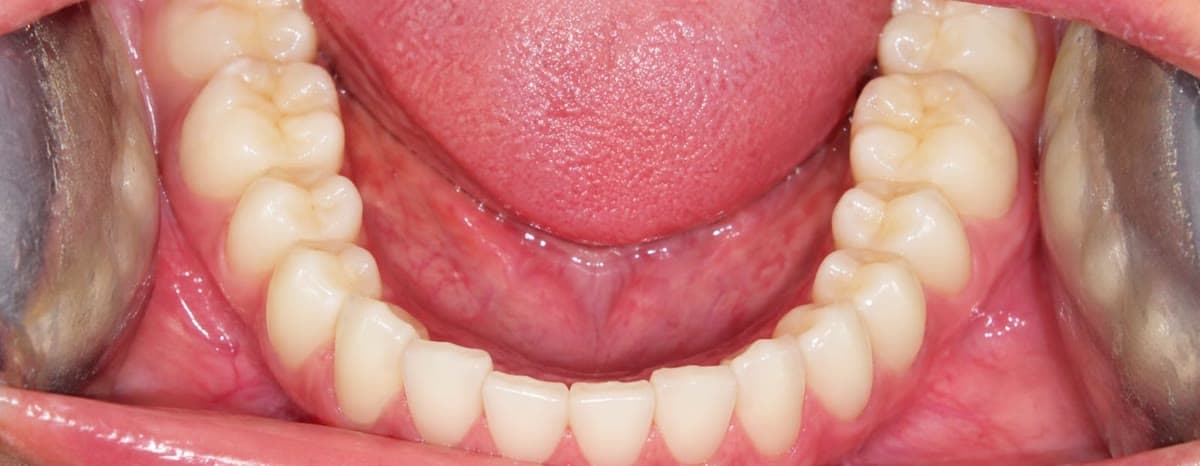
What it should look like
Send your first scan today.
Create a free dentist account, upload a CBCT and get a written report in 3 to 24 hours.